
Gavel Recommended Torch Times and Cold Start Techniques
One of the most frequently asked questions we get in regards to the Gavel is how long one should heat it up and how long they should let it cool. The answer to this question is not objective but subjective as many variables come into play. The Gavel is not a digital product with 2 or 3 settings. It is an analog tool to be learned and mastered.
Therefore the information contained in this post is not a rule, nor is it definitive. The information here is merely a suggestion on a few methods that some people have found successful, and you may be able to use one or more of these methods as a starting place for developing your own technique.
Heat Ups and Cool Downs:
The methods described are from using a Blazer Big Shot butane torch or similar, in a closed atmosphere at room temperature and will vary if you are using a flame of less or more intensity in different settings.
20 UP / 55 DOWN: The benefit of doing only twenty up is that you can avoid excessive heating of the material, and cut down the wait time by about half a minute.
30 UP / 80 DOWN: This is for people who are essentially flame polishing the product in between uses. Being a little more excessive, this method can be used for larger volumes of oil but can lead to potential devitrification of the product.
Cold Start Techniques:
Due to the thermal properties of the Gavel, it's becoming increasingly popular to use what is known as the Cold Start Technique with the product.
The Cold Start Technique is pretty much what it sounds like. One begins by pre-loading a room temperature Gavel first, and then applying the flame source second. This technique definitely has a more of a learning curve to it than the traditional method of adhering to predefined heat up and cool down times. It can take a little while for one to familiarize themselves with exactly how much heat is required for their application. Since the variables in any given application can all be infinitely different, there is not any set of rules to adhere to.
What Are The Benefits Of A Cold Start?
1. Less waiting. By loading the gavel cold and hitting it with a flame for several seconds you are able to accomplish your goal in less than a minute compared to heating for 30+ seconds and waiting around another 80 seconds for the Gavel to cool down.
2. Gas conservation. I know gas is cheap, but having to drive to the shop to buy some still sucks. By employing the cold start method your gas cans last longer. When you are at the bottom of your gas reserves, the cold start technique helps stretch it out and make the most of it.
3. Quartz conservation. The cold start technique actually makes the life of your Gavel last longer. Put simply, a Gavel that's only being heated for 8 seconds at a time is going to experience less devitrification, less likely to experience accidental burns, and generally less ware than one that is repeatedly being heated for 30 seconds at a time.
Suggested Starting Methods
Cold Start (Basic)
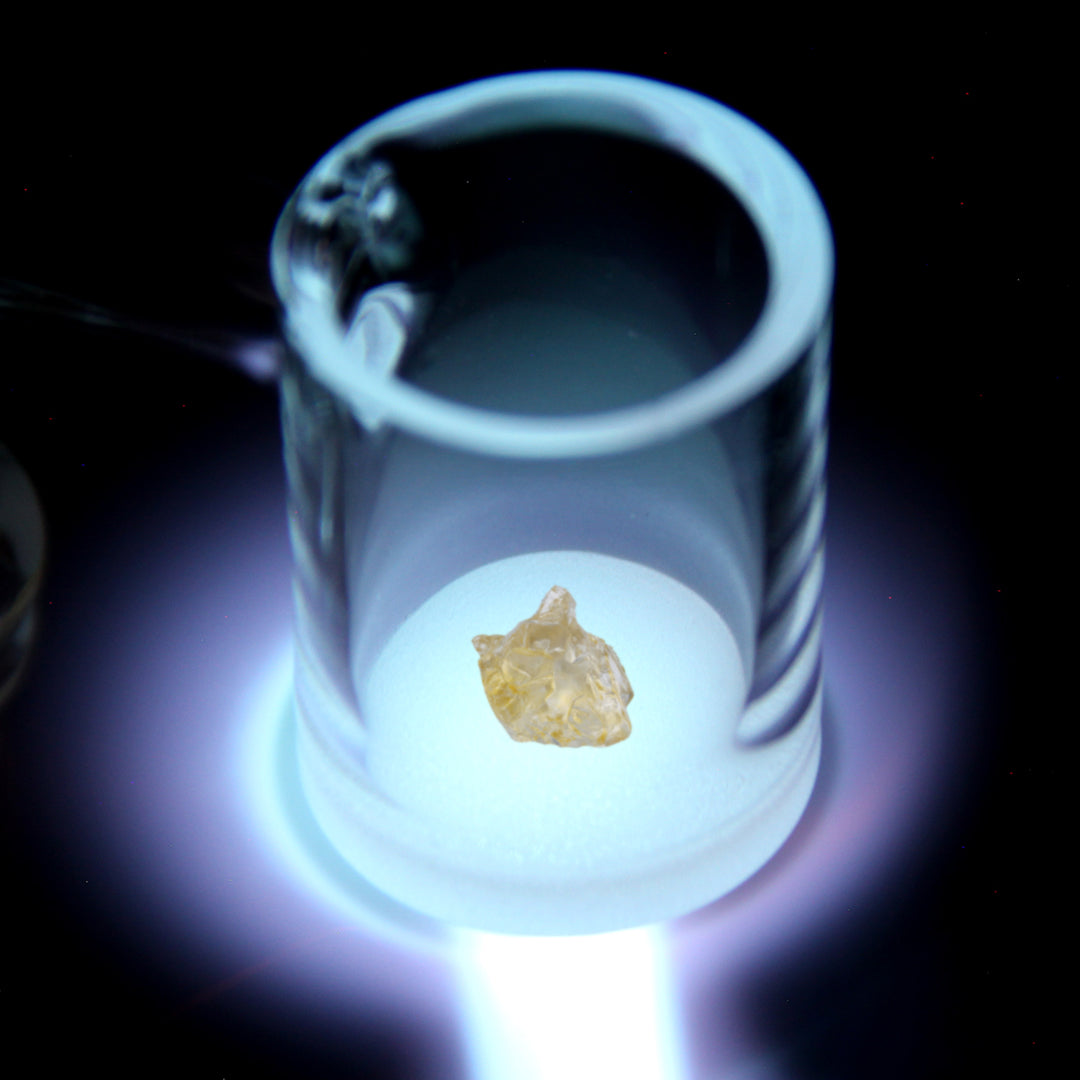
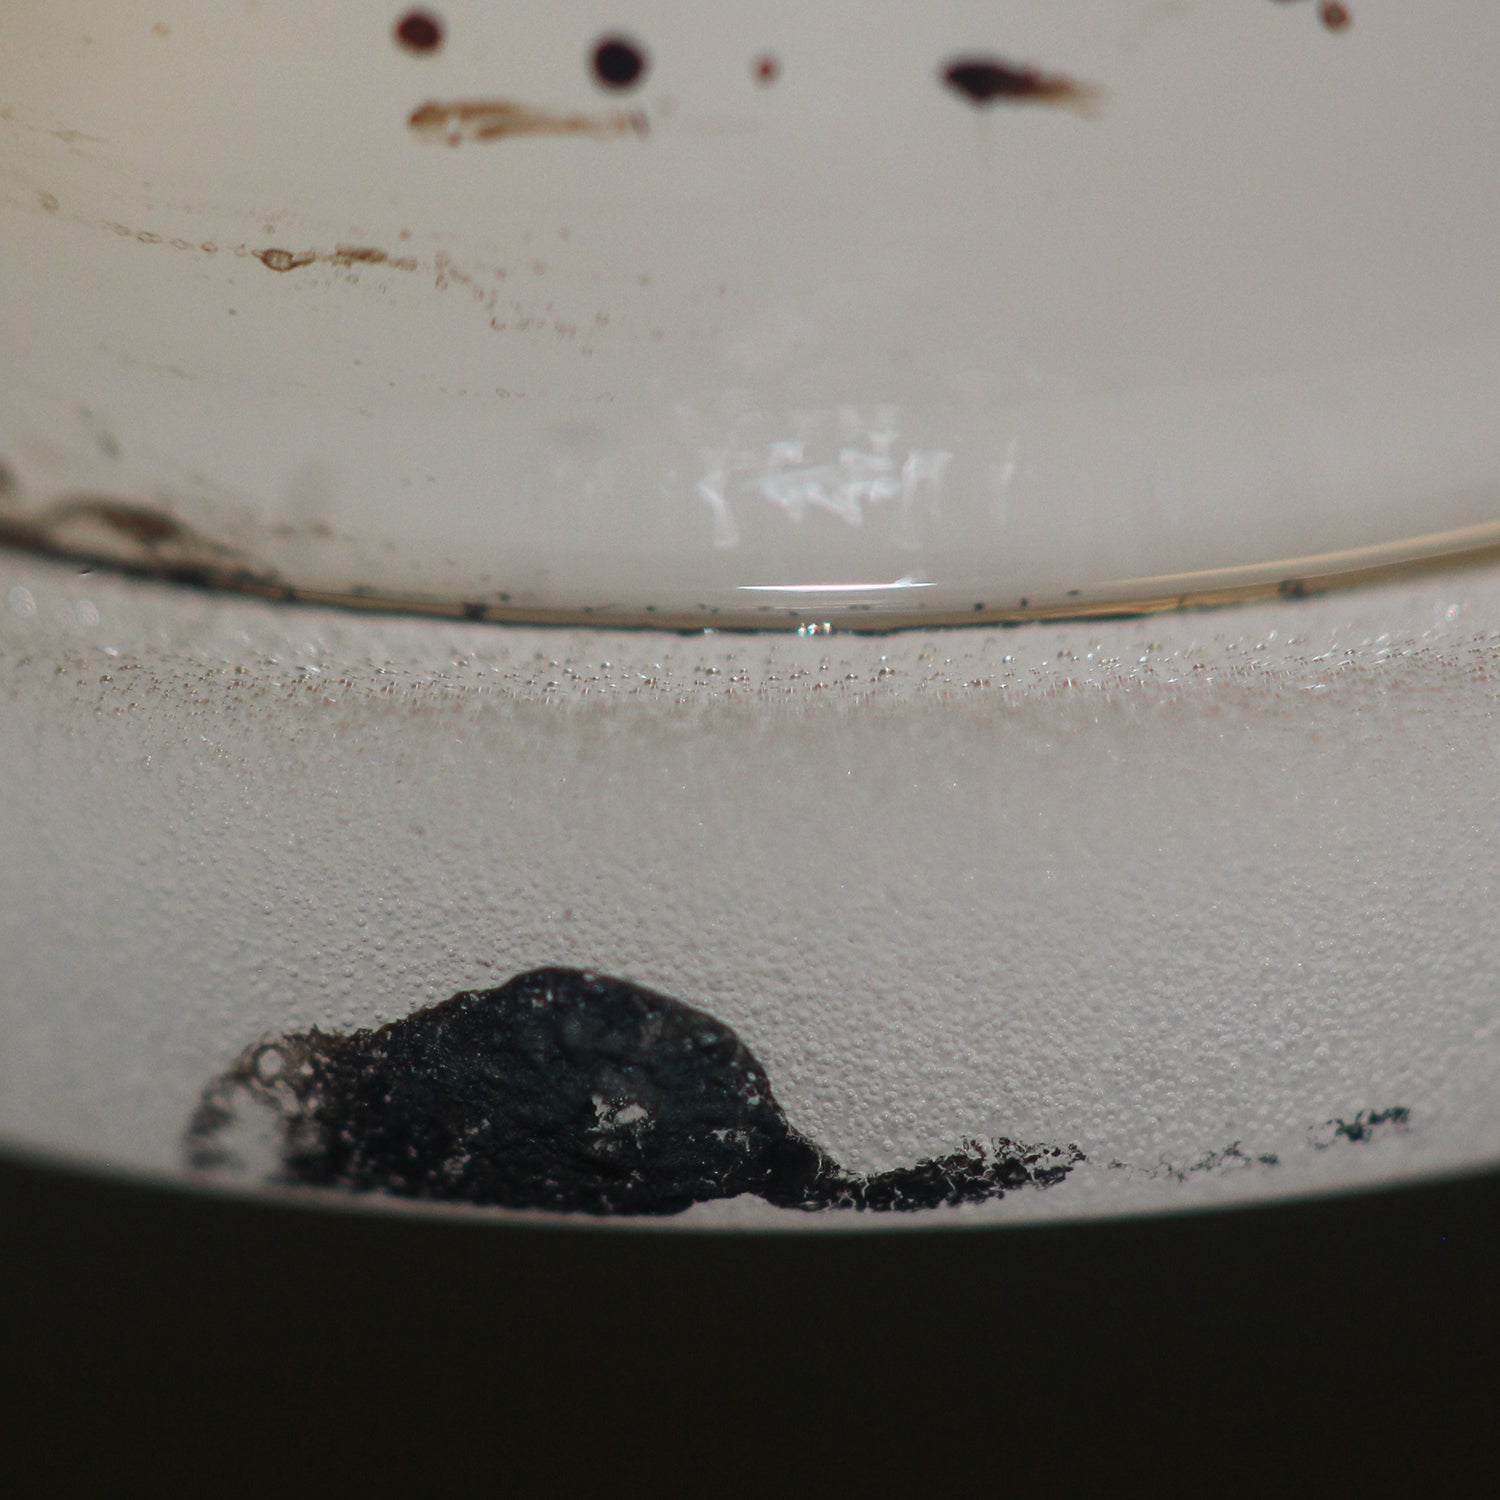
With a basic cold start, the Gavel is pre-loaded with the material being placed in the center of the floor. It's best to keep the material away from the walls if possible in the beginning, as the material has a tendency to climb the walls escaping vaporization. After the the Gavel has been loaded, the flame from a standard butane consumer torch can be applied directly to the floor. The flame should be applied until the material melts and should be removed usually around the moment a boil begins. The cap is then placed on top and the dab is taken. This is usually around 7-8 seconds of flame but can differ depending on torch output and oil volume. Too much flame will burn with material and ruin the flavor giving an unpleasant experience, too little flame will leave excess remnant oil. It may take a little practice to determine when to remove the flame. It is best to cap the Gavel after the flame is removed and not before as the heat from the flame could potentially damage a glass cap. The basic method is great for starting with, or employing when the gas is too low to execute the advanced cold start. The only thing wrong with the cold start basic method is that sometimes the material will climb the cold walls and not fully vaporize.
Cold Start (Advanced)
With the advanced cold start, you begin the exact same as you do with the basic cold start. Load it on the floor in the center. Here's where the methods differ: With the advanced method you begin by heating the upper and middle walls of the bucket before heating the floor. It is important to try and not melt the oil on the floor while heating the walls. I usually heat the walls all the way around with the flame angled upwards at a 45 degree angle so that the flame can not enter into the bucket and scorch the oil. This heating of the walls usually lasts about 8-10 seconds for me before I move to the floor, but your application may differ. After heating the walls, I then move directly to the floor and heat it until the material begins to boil, then cap it. By heating the walls first it helps prevent the oil from climbing them, and in the event it does climb them, the walls are hot enough to still vaporize the material.
Where The Cold Start Fails
Where a cold start might fail is in a session scenario where the nail needs to be reused immediately after it was just used. The Gavels retain heat for quite a while, so it takes several minutes for it to return to room temperature. Trying to load it for a "cold start" while it is still hot will result in the material melting and even boiling before the user is ready for it. Therefore, cold starts are usually best in scenarios where there is only one user.
At the end of the day, there are many ways you can skin a cat and no one method is more correct than another. Look at this as just another tool for your tool kit. I still use the traditional heat up and cool down methods and I use cold starts. This is just one of the methods that has made my life a little easier on occasion so I thought I would share it with you.