
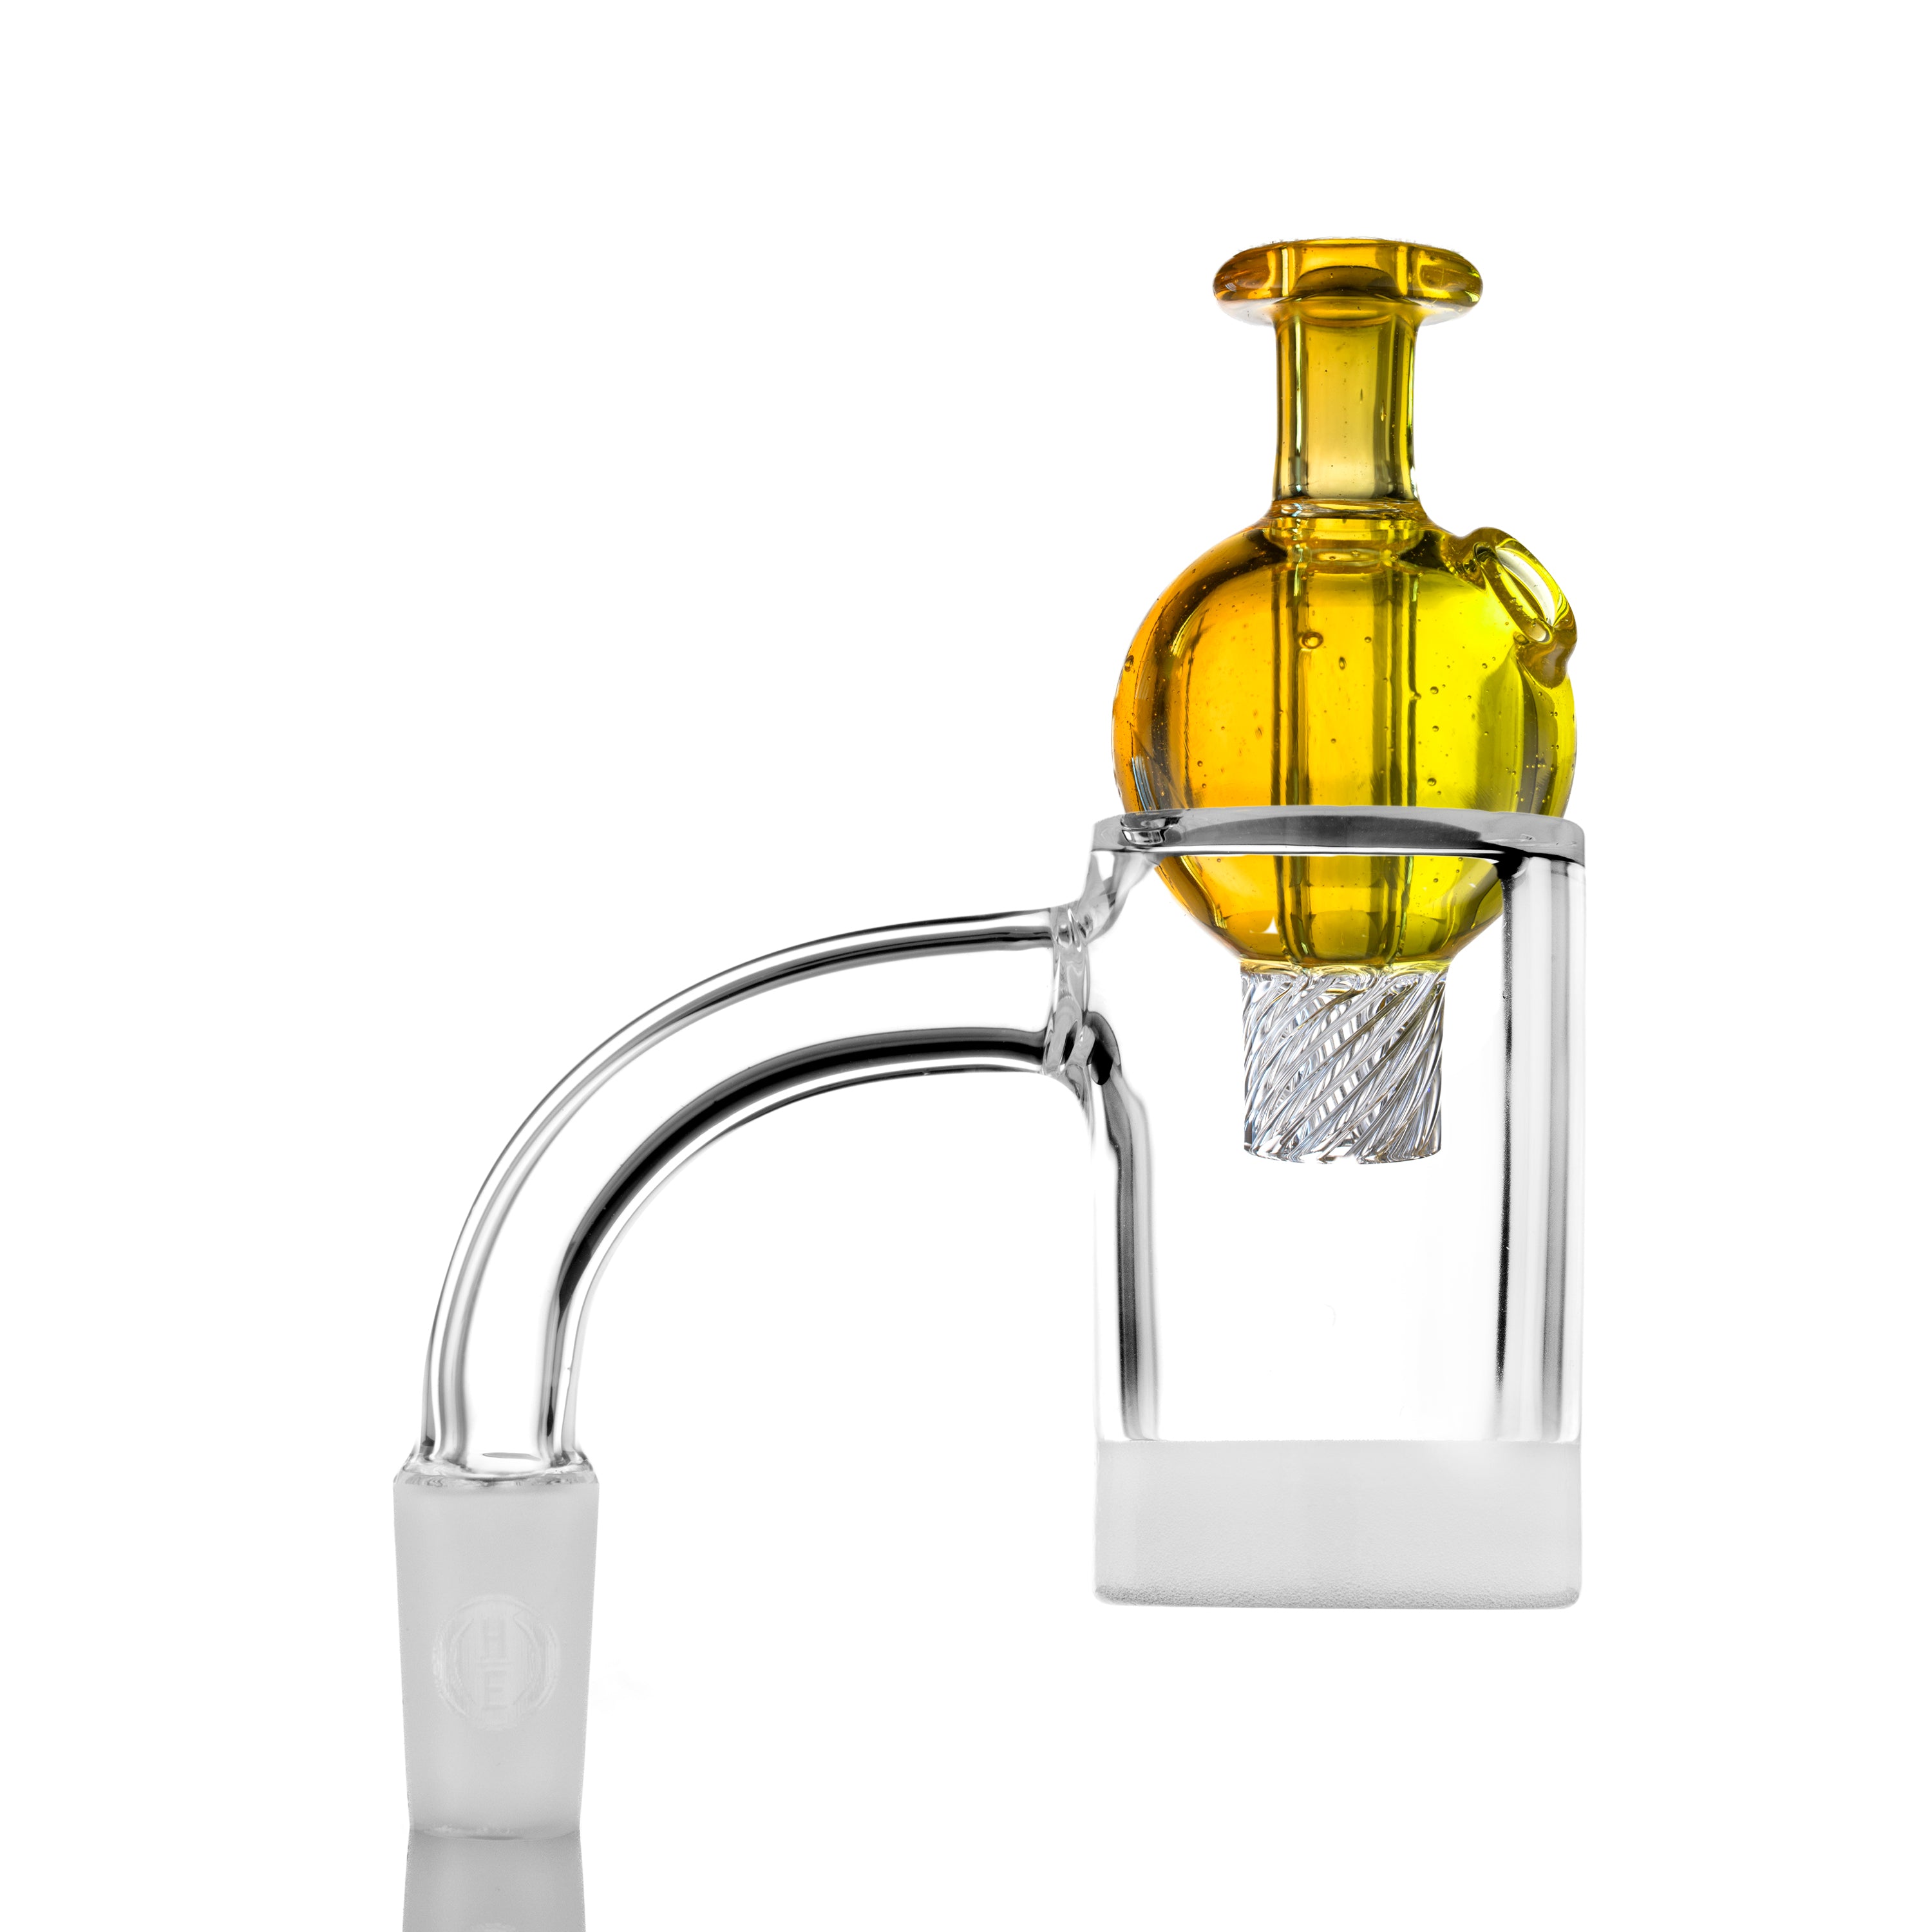
Gavel 3 Recommended Use
"Since the variables in any given application can all be infinitely different, there is not any set of rules to adhere to. "
In a previous blog post we discussed the recommended use times with a Gavel V2. Here we discuss how using a Gavel 3 differs.
Many users are surprised to find the timing techniques they had developed for a Gavel V2 do not work so well with the Gavel 3. When it comes to concentrate accessories, any change in design usually results in a change of technique. So today we will discuss the change in design and how to adjust your technique to make the most out of your product with a Gavel 3.
Why Is The Timing Different?
The Gavel 3 has both more opaque and clear material than a Gavel V2. This means that the 3 is going to require more introductory energy to get to a similar operating temperature.
Introductory Heat Up and Cool Down:
The methods described are from using a Blazer Big Shot butane torch or similar, in a closed atmosphere at room temperature and will vary if you are using a flame of less or more intensity in different settings.
Recommended Starting Point
35 UP / 75-80 DOWN: Apply the flame first to the clear outer walls and keep it moving around evenly for the first 15 seconds, use the last 20 or so on the floor. DO NOT ONLY apply the flame to the floor. The opaque material can work as an insulator preventing the clear walls from receiving the energy they require to operate and as such you will want to make sure that the clear walls are also receiving the flame. After heating the floor for the remainder of the time, wait around 75 seconds before using.
This is only a starting point for someone to experiment with as the timing preferences will vary from person to person, and the timing requirements will change from rosin to diamonds to sauce, etc.
Cold Start Usage:
- Load the material in the center of the floor. Try to avoid the walls if possible, it's OK if you cant due to the size.
- Apply the flame to the walls upwards at a 45 degree angle. Keep the flame moving around the clear walls just above the opaque. Do this for 10-15 seconds depending on load volume.
- Move to the floor and keep the flame circling around the bottom for another 7-10 seconds. Usually once you see the first signs of boiling beginning you can place the cap on and go.
If you are getting the nail too hot with a cold start, adjust the timing to suit your needs accordingly. If you got the nail too cold you can act quickly to add an additional few seconds to the floor without compromising too much flavor. When applying a reheat, generally it will only take a couple of seconds of flame to get it producing a decent quality of vapor again.
